AWS Amplifyは開発者がモバイルアプリケーションやウェブアプリケーションを簡単かつ迅速に作成し、デプロイすることができる開発プラットフォームです。
利用者はバックエンドの構築をAWSの様々なクラウドサービスに任せることでアプリケーション開発の工数を削減できます。
本稿ではAWSチュートリアルの Amazon Amplify でウェブアプリケーションをデプロイする(https://aws.amazon.com/jp/getting-started/guides/deploy-webapp-amplify/)を参考に、アプリケーションのデプロイまでの手順を試してみたいと思います。
構築手順
AWS Amplify CLIのインストール
まずはターミナルを開き、AWS Amplify CLIのインストールコマンドを実行します。
AWS Amplify CLIによってAWS Amplifyをコマンドラインから操作・制御することができます。
npm install -g @aws-amplify/cli
Reactアプリケーションの作成
続いて作業ディレクトリを作成します。作業ディレクトリのパスは任意のもので構いません。
mkdir Documents/workspace
次に作業ディレクトリに移動し、Reactアプリケーションの作成コマンドを実行します。
アプリケーション名は「amplify-test-app」としていますが、任意のもので構いません。
cd Documents/workspace
npx create-react-app amplify-test-app
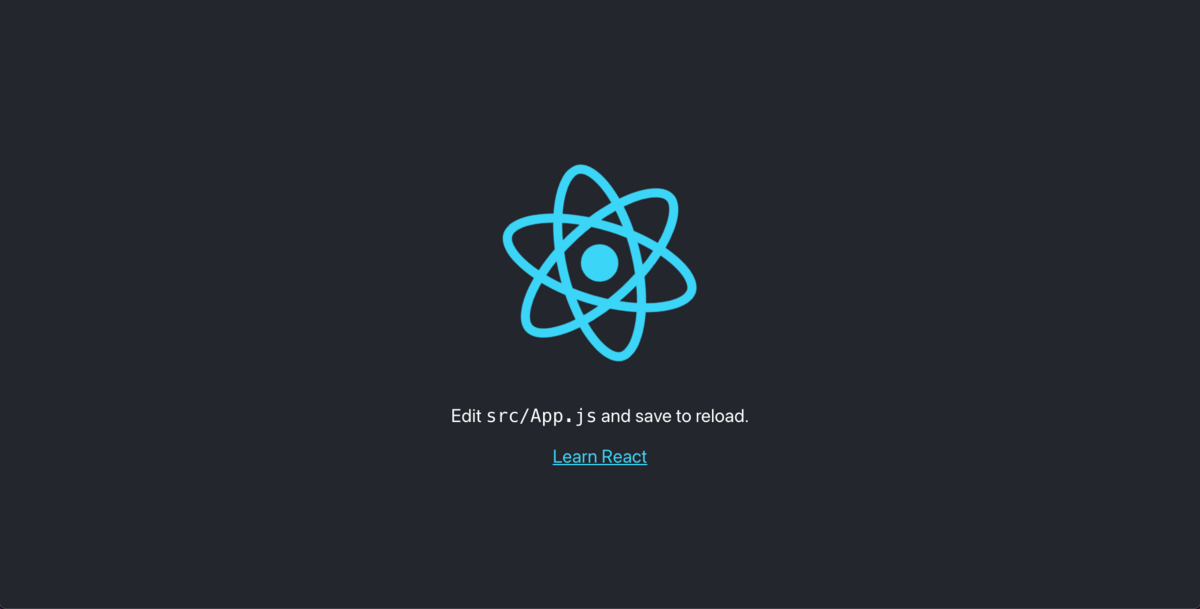
アプリケーションが無事に作成できたら、ローカルホストでアプリケーションを起動し、問題ないことを確認します。
cd amplify-test-app
npm run start
コマンドを実行するとブラウザが自動的に立ち上がります。正常に起動ができていれば以下の画面が表示されます。
AWS Amplify CLIとAWSアカウントの連携
以下のコマンドを実行し、amplifyの設定を行います。
amplify configure
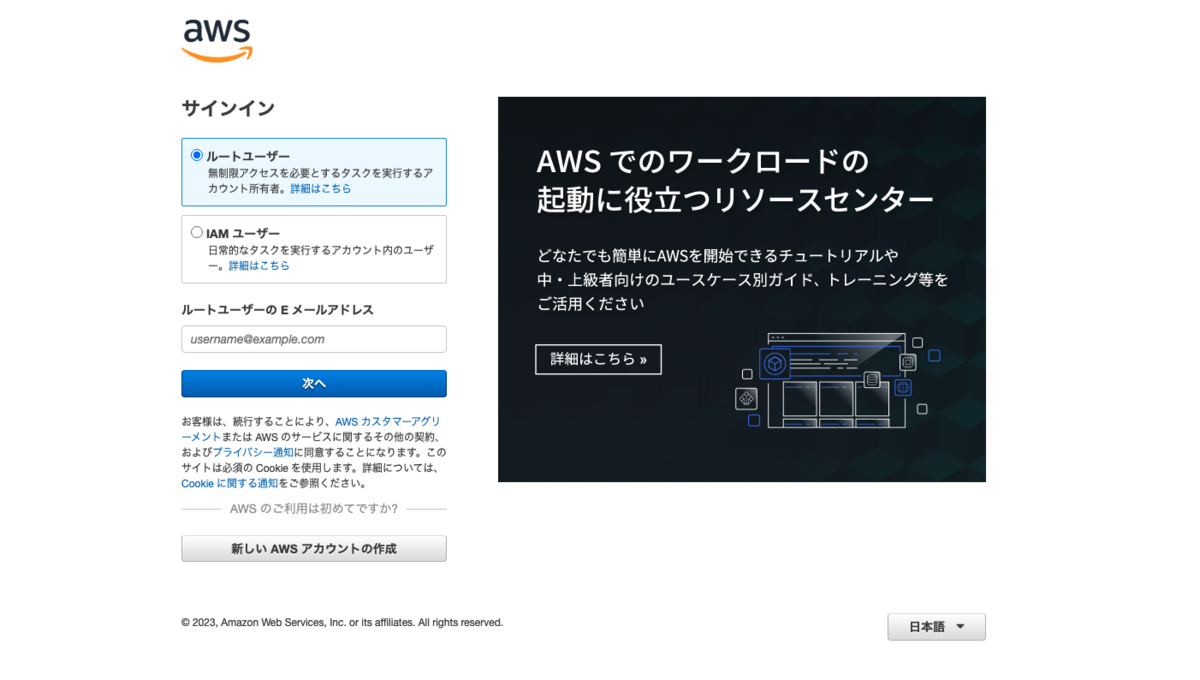
コマンドを実行すると、ブラウザ(AWSマネジメントコンソール)が自動的に立ち上がります。
AWSアカウントを作成済みの方はそのままサインインを行います。
未作成の場合は新しいアカウントを作成してください。
サインインができたらリージョンとIAMユーザーの設定を行います。
再度ターミナルに移動し、リージョンを指定します。
今回は東京リージョン(ap-northeast-1)で作成します。
Follow these steps to set up access to your AWS account:

Sign in to your AWS administrator account:
https://console.aws.amazon.com/
Press Enter to continue

Specify the AWS Region
? region:
  eu-west-2
  eu-west-3
  eu-central-1
❯ ap-northeast-1
  ap-northeast-2
  ap-southeast-1
  ap-southeast-2
(Move up and down to reveal more choices)
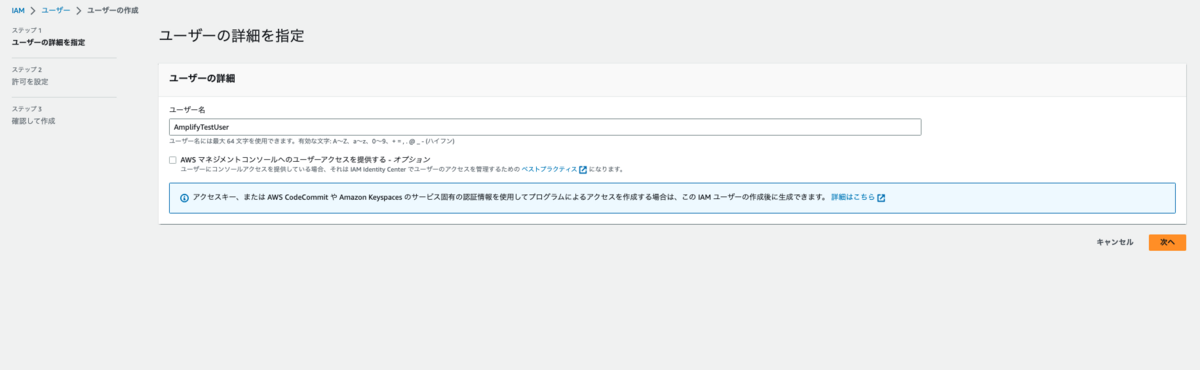
リージョンを指定すると、IAMユーザー作成画面が自動的に立ち上がります。
任意のユーザー名を入力し、次へボタンをクリックします。
今回はユーザー名をAmplifyTestUserとします。
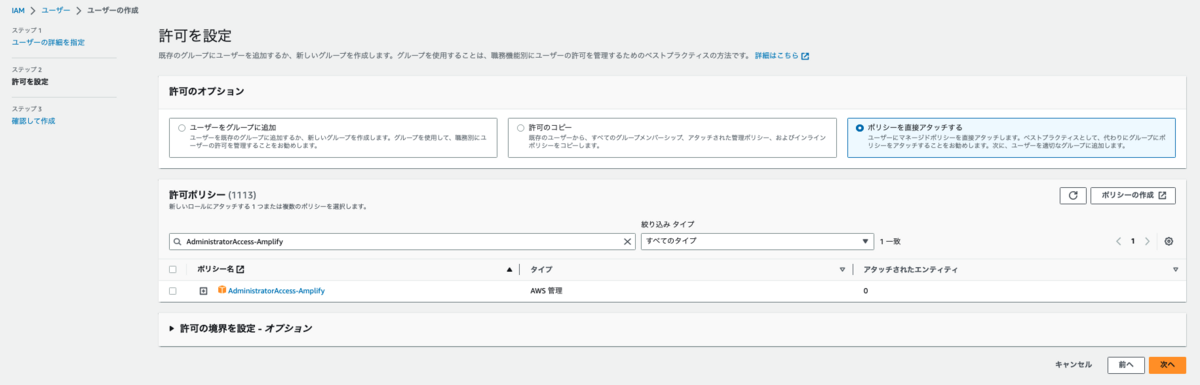
許可の設定ではAdministratorAccess-Amplifyを選択し、次へをクリックします。
【参考】AWS 管理ポリシー:AdministratorAccess-Amplify
https://docs.aws.amazon.com/ja_jp/amplify/latest/userguide/security-iam-awsmanpol.html
最後に確認画面が表示されるので、問題がなければユーザーの作成をクリックします。
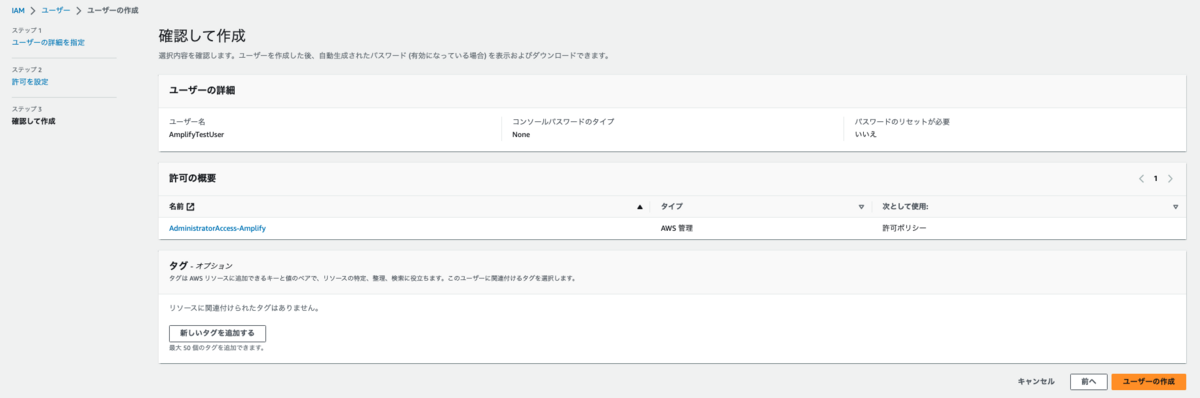
ユーザーが作成されました。
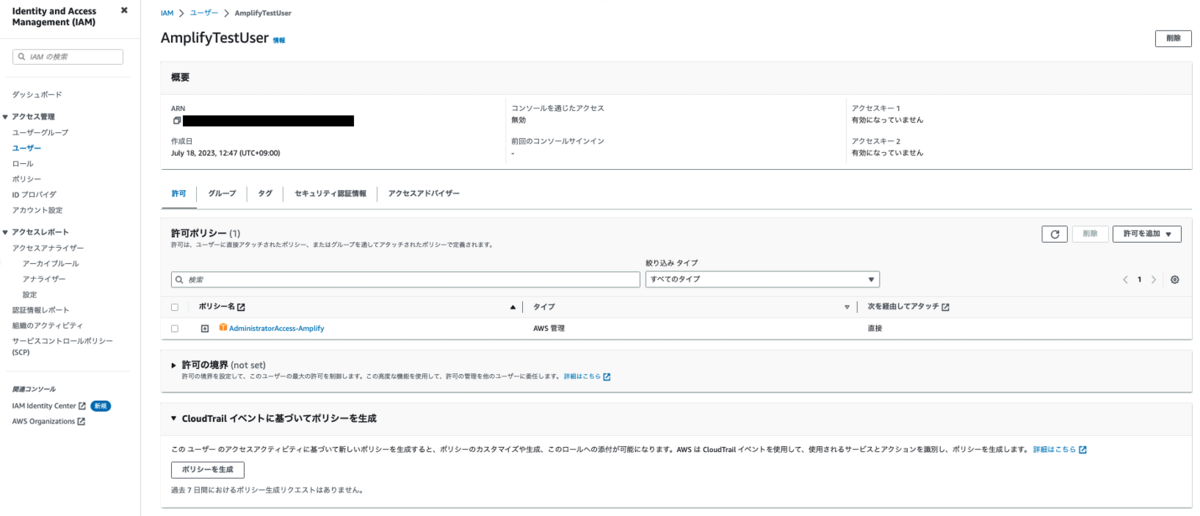
続いてアクセスキーの作成を行います。
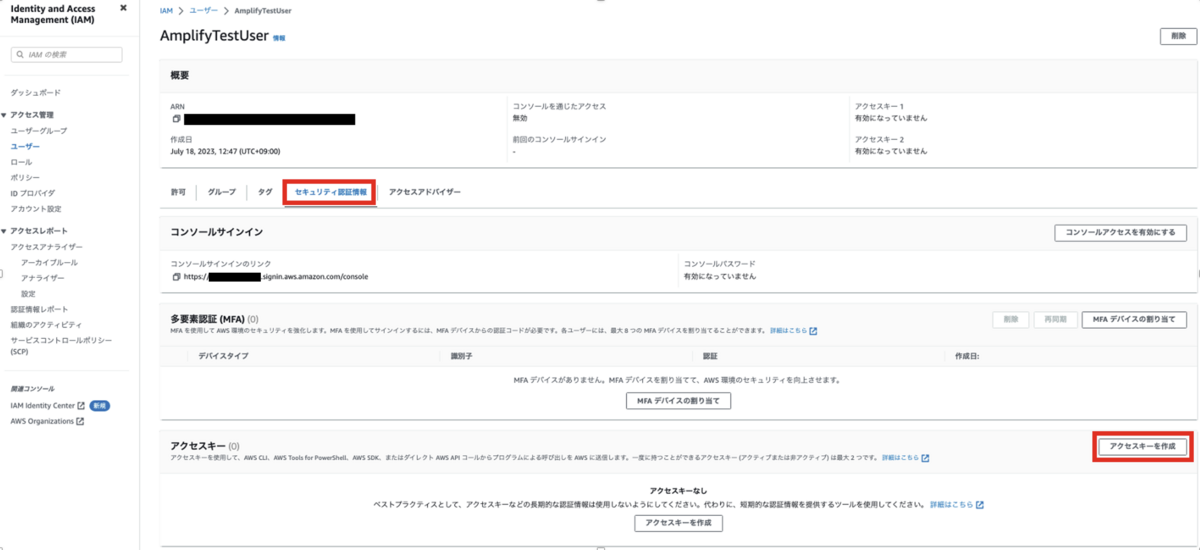
セキュリティー認証タブをクリックし、アクセスキーの作成をクリックします。
アクセスキーが作成されました。これらは重要な情報ですので大切に保管してください。
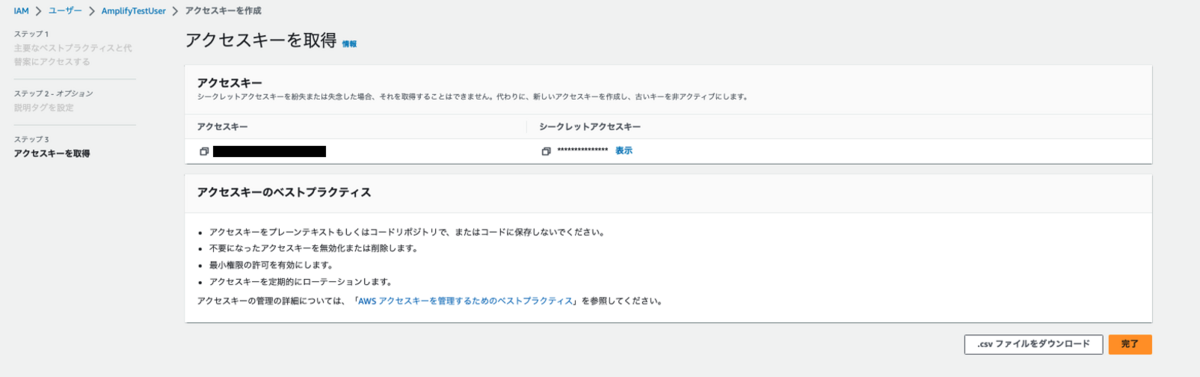
再度ターミナルに移動し、取得したアクセスキーとシークレットアクセスキーを入力します。
Enter the access key of the newly created user:
? accessKeyId:  ********************
? secretAccessKey:  ****************************************
This would update/create the AWS Profile in your local machine
? Profile Name:  default

Successfully set up the new user.
AWS Amplifyの初期化
以下のコマンドを実行し、AWS Amplifyの初期化を行います。
amplify init
今回は全てデフォルトの設定で初期化を行います。
Note: It is recommended to run this command from the root of your app directory?Enter a name for the project amplifytestapp The following configuration will be applied:
Project information
| Name: amplifytestapp
| Environment:dev
| Default editor: Visual Studio Code
| App type: javascript
| Javascript framework: react
| Source Directory Path: src
| Distribution Directory Path: build
| Build Command: npm run-script build
| Start Command: npm run-script start

? Initialize the project with the above configuration? Yes
AWS Amplifyでは環境構築にAWS CloudFormationを使用しているため、AWS CloudFormationを使用するAWS Profileを選択します。
Using default provider  awscloudformation
? Select the authentication method you want to use: (Use arrow keys)
❯ AWS profile
  AWS access keys

? Please choose the profile you want to use
❯ default
初期化完了後、AWS Amplifyコンソールを確認するとAWS Amplifyプロジェクトが作成されています。
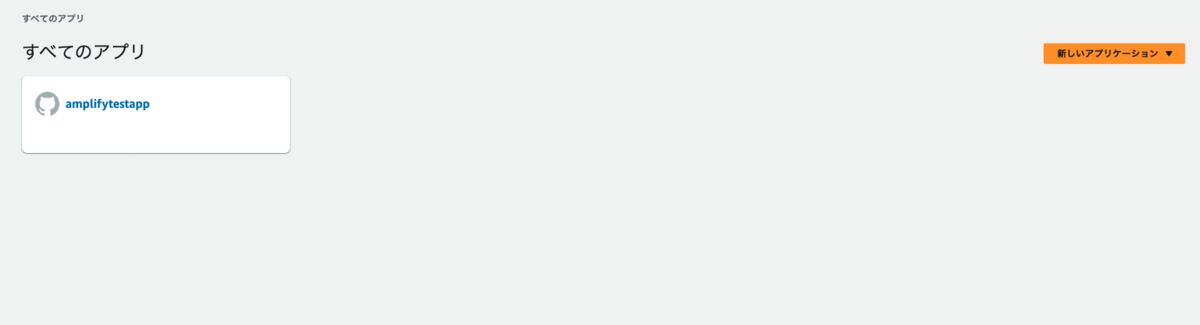
約30秒ほどで作成が完了しています。

アプリケーションをAWS Amplifyにデプロイ
続いて以下のコマンドを実行し、アプリケーションをAWS Amplifyにデプロイします。
amplify add hosting
どの方法でデプロイするかを聞かれるので、「Hosting with Amplify Console」を選択します。
? Select the plugin module to execute …  (Use arrow keys or type to filter)
❯ Hosting with Amplify Console (Managed hosting with custom domains, Continuous deployment)
  Amazon CloudFront and S3
今回はCLIからデプロイだけを行うので「Manual deployment」を選択します。
? Choose a type
  Continuous deployment (Git-based deployments)
❯ Manual deployment
  Learn more
しばらく待つと以下が出力されます。
You can now publish your app using the following command:

Command: amplify publish
指示に従ってamplify publishを実行します。
amplify publish
すると反映する設定の確認が出力されます。
OperationがCreateであれば新規作成なのでYesを入力します。
✔ Successfully pulled backend environment dev from the cloud.

    Current Environment: dev

┌──────────┬────────────────┬───────────┬───────────────────┐
│ Category │ Resource name  │ Operation │ Provider plugin   │
├──────────┼────────────────┼───────────┼───────────────────┤
│ Hosting  │ amplifyhosting │ Create    │ awscloudformation │
└──────────┴────────────────┴───────────┴───────────────────┘
? Are you sure you want to continue? (Y/n) › yes
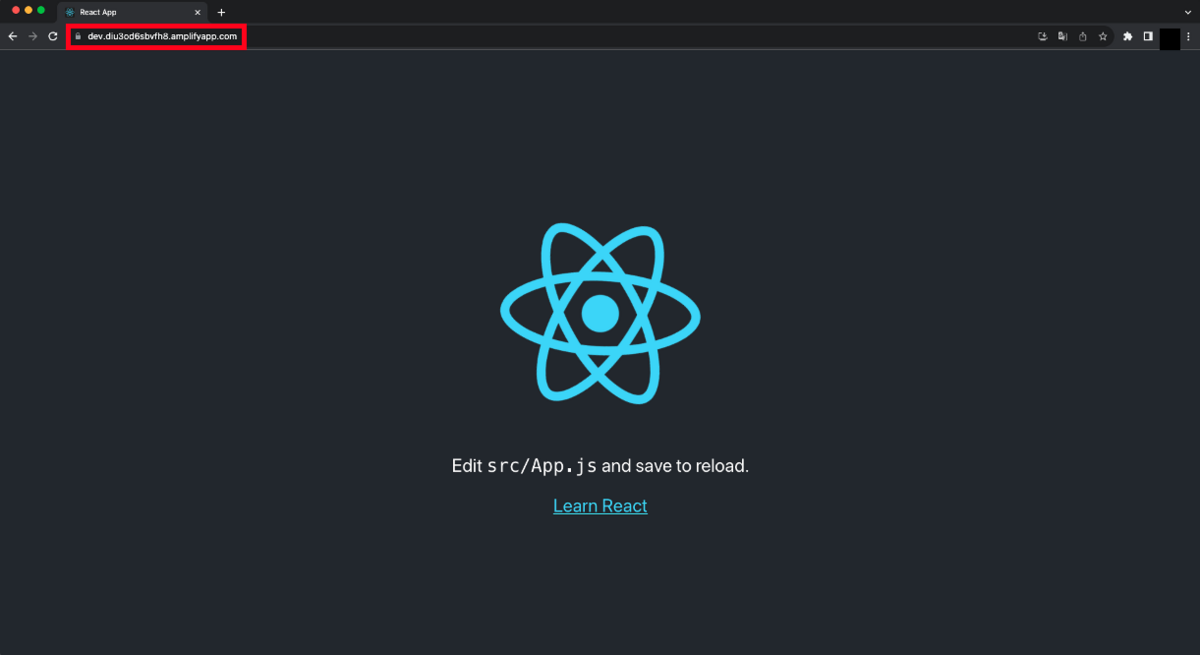
しばらく待つと以下のようなURLが出力されます。
✔ Zipping artifacts completed.
✔ Deployment complete!
https://dev.diu3od6sbvfh8.amplifyapp.com
このURLにブラウザからアクセスし、Reactの初期画面が表示されればデプロイ成功です。
まとめ
本稿ではAWS Amplifyを用いてアプリケーションをデプロイする手順を実施しましたが、約10分ほどで実施できました。
AWS Amplifyを用いると、機能の実装・サービスのローンチを高速で行うことができます。
アプリケーション開発を手軽に実施したい方はぜひAWS Amplifyを使用してみてください。